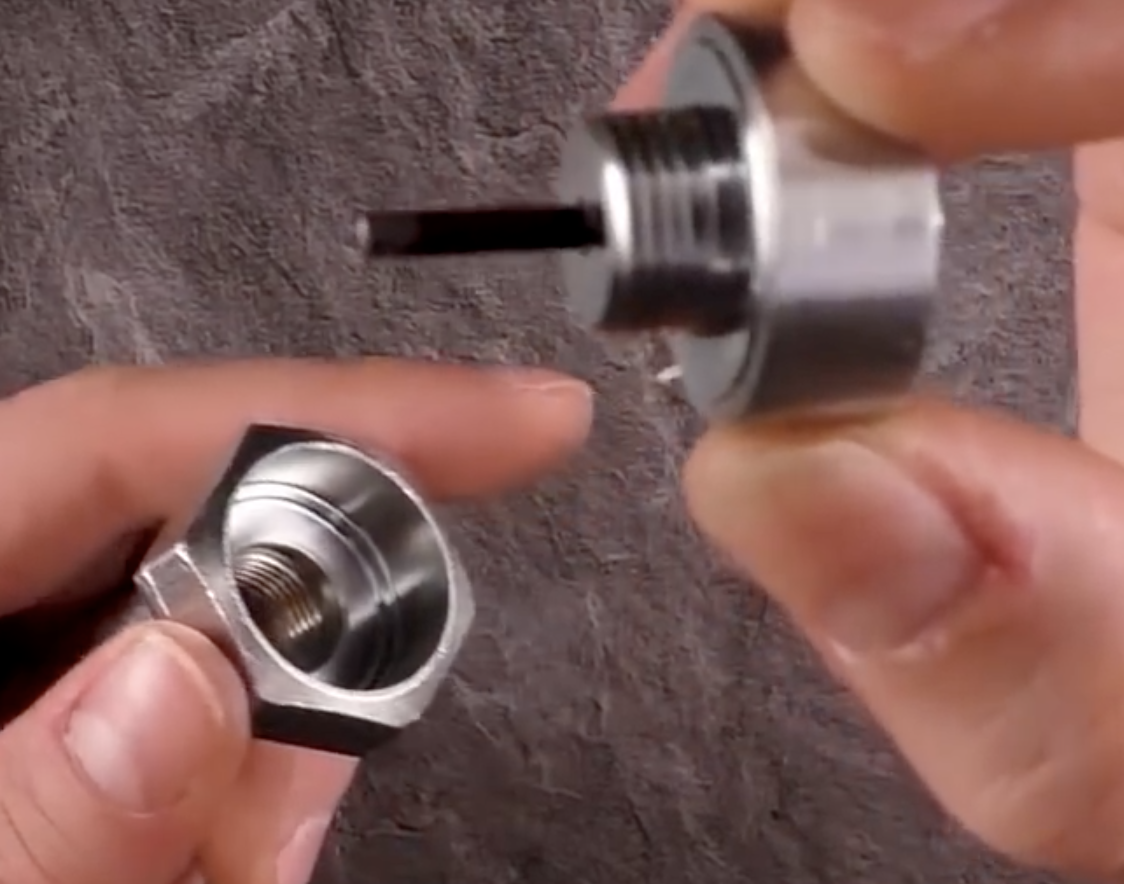
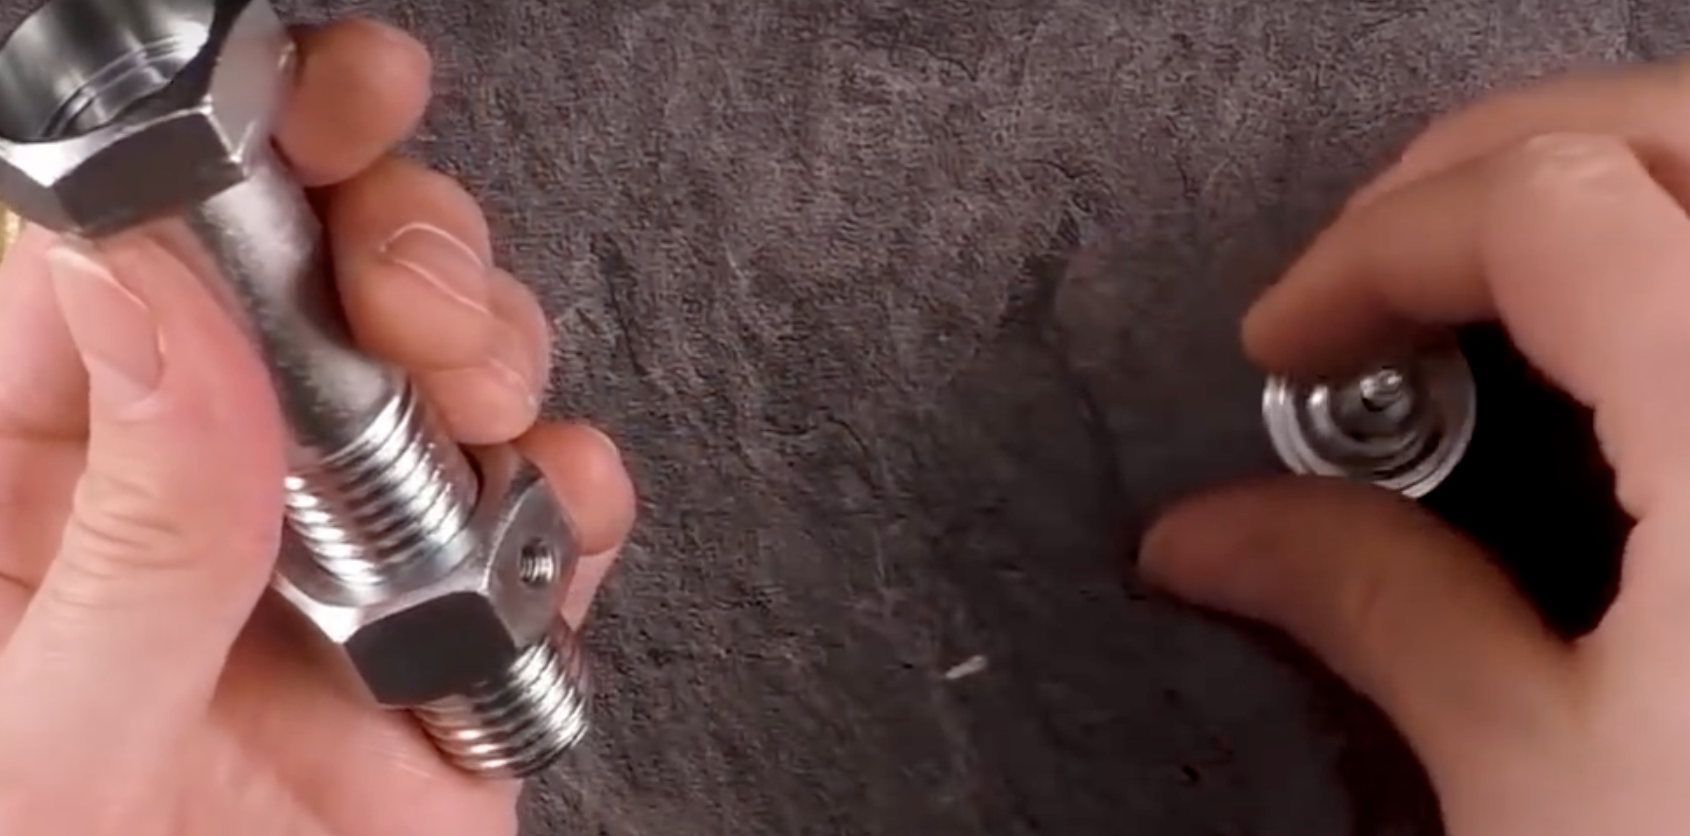
This puzzle comes from the YouTube channel "Mr. Puzzle". In this video he solves three different bolt puzzles. This particular one seemed the most intriguing and the others had some simple tricks, but getting the correct dimensions and angles would be challenging. This puzzle is quite different from all of the other puzzles I have constructed.


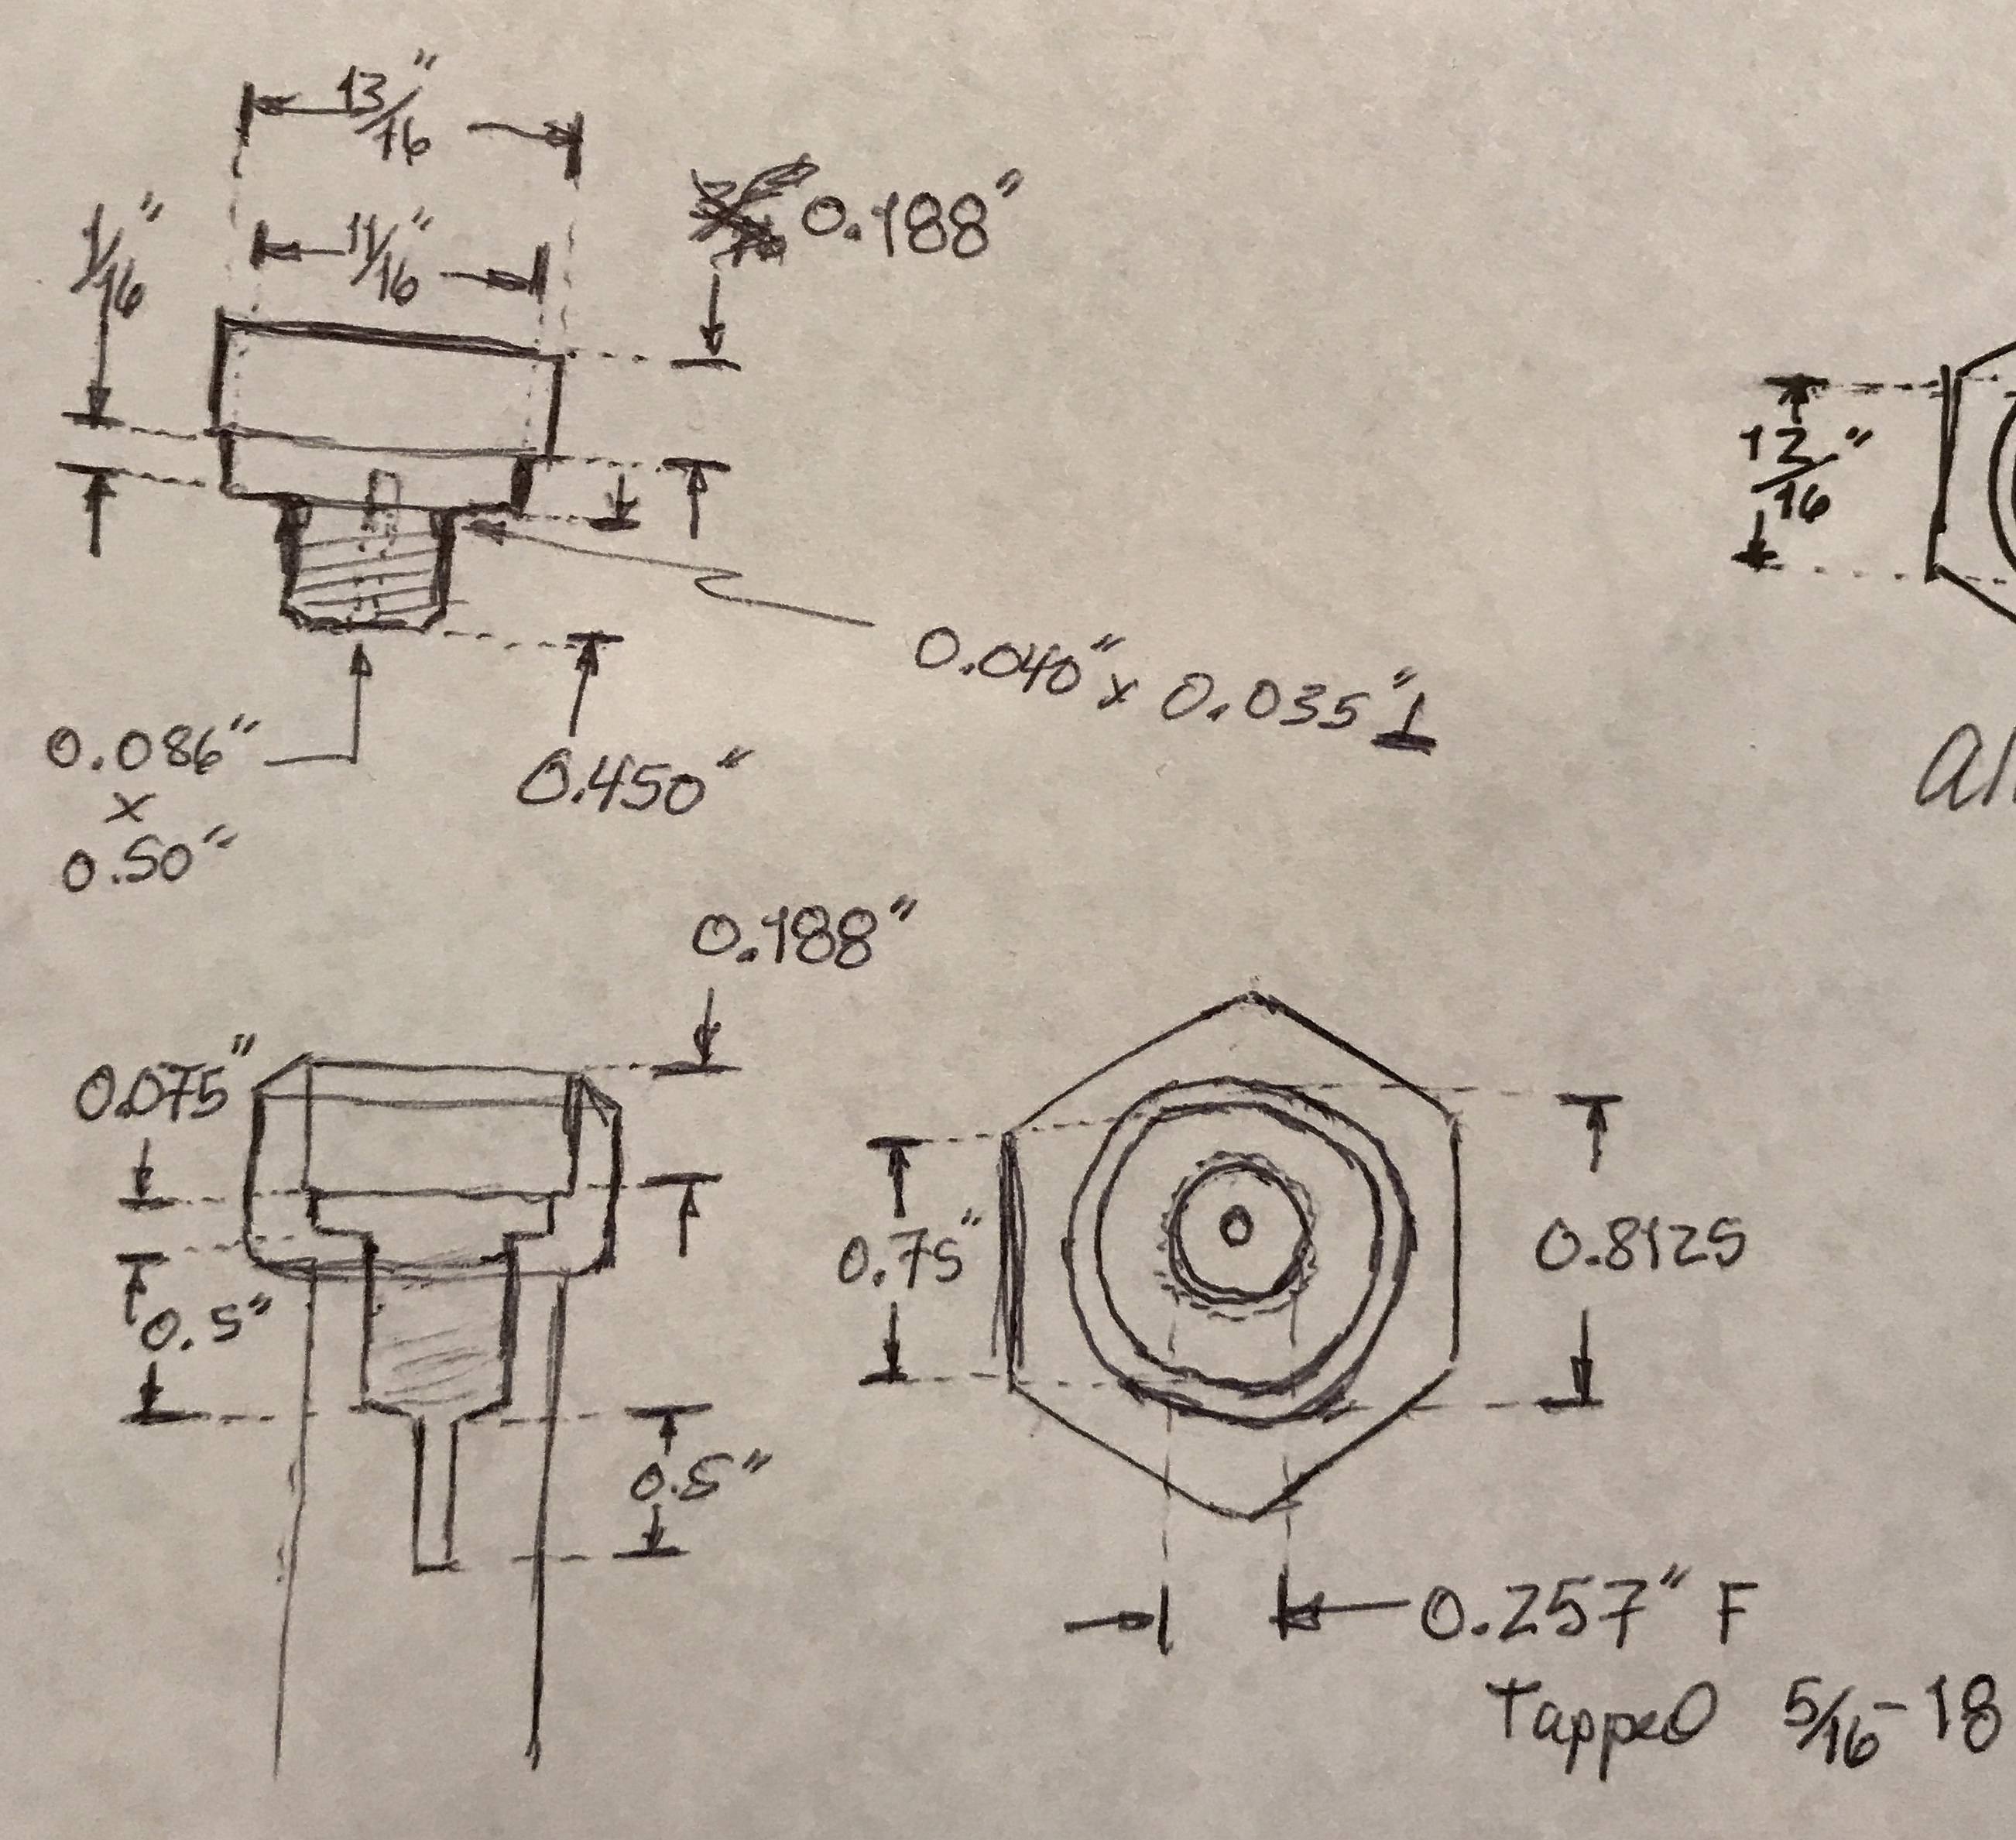
Constructing this puzzle should be straightforward as long as critical dimensions are carefully cut. The insert needs to be a sliding fit in the bolt head and it needs to seat such that its top is flush with the top of the bolt head. Any mistakes here and the solution to the puzzle becomes obvious.

The plans are shown above. The first part to be made is the bolt head. The bolt does not fit through the spindle of the Sherline lathe, so it was clamped on the threads in the three jaw chuck with a nut in place to help clean the threads after removal. A steady rest was used as most of the 3 1/4" of the bolt is hanging out of the chuck. The first operation is to drill the hole for the allen wrench. A set screw was selected that is shorter than the thickness of the nut and the matching sacrificial allen wrench was one of many in storage. This allen wrench measured 0.085" across the points of the hexagonal cross section. So the hole was drilled with a #44 drill (0.086") to a depth of 1.263".
A second hole was then drilled 0.257" (F) to a depth of 0.80". This is the tapping size drill for the 5/16-18 threads. A little over 1/4" was drilled with a 3/8" drill to allow room for the tap. The threads were tapped with the 5/16-18 tap. It was not a bottoming tap, but seemed to provide quite a few threads. The tapping had to be done in a vise, so the bolt was removed from the chuck. Hopefully I can return it close to its original position.